
On the Accounts Tab you enter the information that will be needed on the printed check. The same info is used on both single and multiple checks. The dropdown list has room for multiple accounts. You can have any number of accounts that have their own settings.
This information is available from your previous checks or from your bank.

Fractional Routing Number:
XX-YYYY / ZZZZ
XX= the state identification codes and assign a city or state to it. For
example, if the “XX”
section is 88, it represents Texas.
YYYY= It needs to correspond to the second set of digits of the
number located at the
bottom left-hand corner of the check or digits five through eight of the
bank’s routing
number.
ZZZZ= It must correspond to the first four digits of the
originating bank’s routing number
while skipping any leading zeroes.
To add a new account, click the "Add New Account" button.
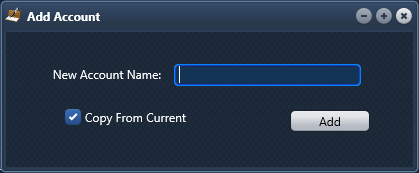
Give the account a new name. If the "Copy From Current" is checked, the new info will be filled in with the info already shown in the previous shown account.
Each account is used for both Multi personal checks and Single Business checks. You can have any number of accounts.
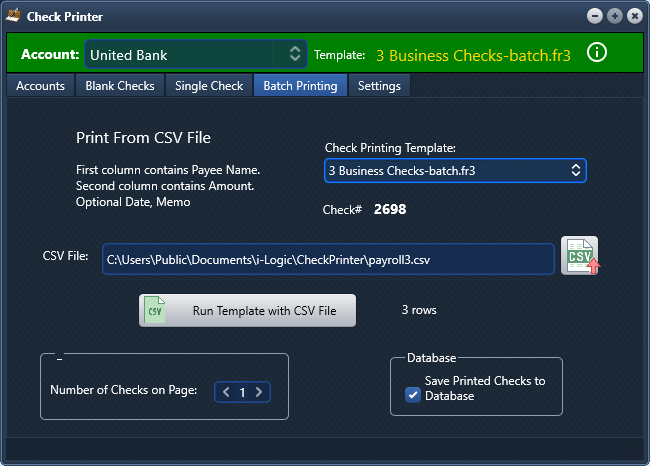
The Check Printer App can print blank checks onto pre-printed check paper that you can purchase at office supply stores or online. Check Printer uses a user defined template to print on the sheet, so the checks can be printed with any text, pictures, logos, backgrounds.


Check# - shows the next check number that will be used.
Number of Pages to Print - Number of times the template will be sent to the printer. One sheet of three checks would be one page.
Check Printing Template - Choose the template file that will be used to print on these checks.
Number of Checks on Page is required to keep the check numbers in sync.


Payee - You can type in the payee or you can save them in the dropdown box for use later.
Memo - You can have multiple lines.
Press the Add/Delete Payees button and you can add or delete payees to the dropdown list.

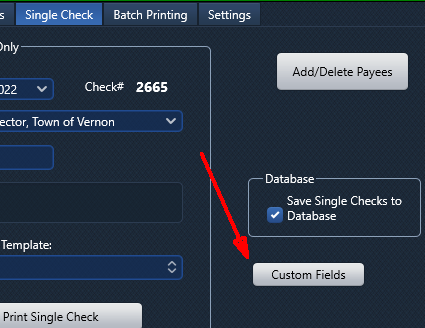
When printing single checks with the payee data the transaction can be saved to a database so you will have a record of all the checks you wrote. Check the "Save Single Checks to Database" checkbox.


When you print a check the transaction data can be saved to a database. The saved database items are shown in the data grid. The items in the grid can be exported to a CSV file in Comma Deliminated Format. Whatever is shown in the grid can be exported. Use the date filtering to filter only the ones you want in the grid.

The Export to CSV File button will ask you for a filename.
The Delete Records button will delete any shown items in the grid permanently from the database. Use this to clean out records you don't need anymore.
Memo field can contain multiple lines so double clicking on a Memo cell in the grid will show the value in a window.
The printed check items are completely user configurable. You can use any brand or kind of check forms. On the Settings tab, press the Edit Template button. Choose an existing template from the dropdown list. This will open the template file in the report editor.


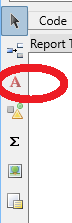

Then choose a picture file in the Object Inspector:

You can send the picture to the background or foreground with Main menu - Edit - Send to Back or Bring to Front.
In case you need a few more variables in your template, you have the possibility of adding custom variables that you fill out the values and have them printed on the check.
Up to 8 custom variables can be used. You fill in the values in the Custom Items window.
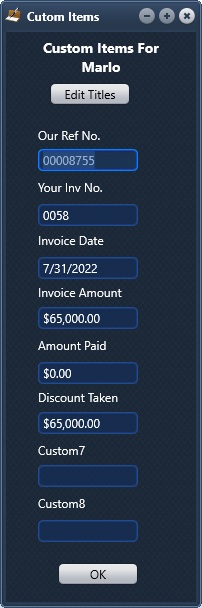
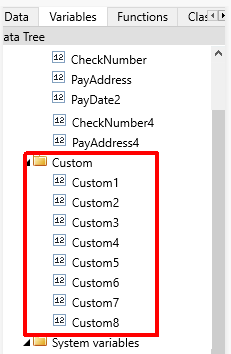
By default they are named Custom1 to Custom8 in the template designer and are used just like the other text variable fields.
There is a separate set for each account. You would have to change the value manually each time you wanted the value to change.
If you want to give them recognizable names, you can press the Edit Titles button and it will bring up a window where you can change the field/variable name.
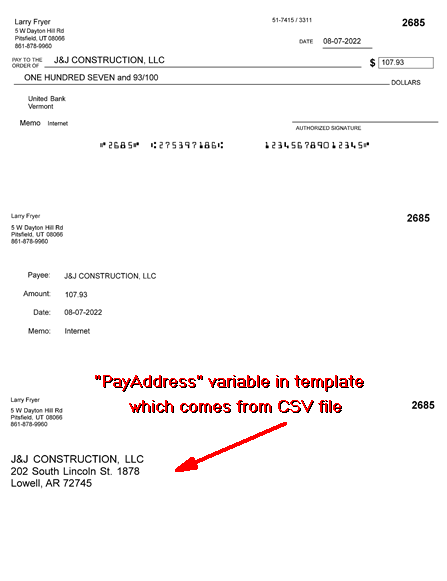
You can use custom variables when batch printing multiple checks, but it doesn't get the values from the form window. Instead it gets the values from the same CSV file that batch printing uses.
Just use columns 6 through 13 for Custom1 - Custom8.

If you go into the System Menu, you can find the About info and the Registration window.

See the About Box for version information.
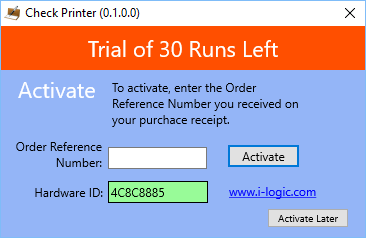
The Registration Window shows activation status. To activate the software from trial version to registered version, enter the Order Reference Number you received when you purchased and press the Activate button. You need to be connected to the internet but only at this initial activation.
For questions or problems send email to support@i-logic.com
Version
Copyright © 2024 by i-Logic Software
www.i-logic.com
